DIY Holiday Glass Blocks

A couple of Christmases ago my sister-in-law painted glass blocks (she is a super talented artist) and filled them with Christmas lights. I don't have the talent to actually hand paint anything, but I do have a handy, dandy silhouette cameo! 

I got the glass blocks in the holiday section at Lowes. They were $8.50 each, are they out there anywhere for cheaper?! Then got to searching on pinterest for just the right design/saying. I went with "Ho Ho Ho" with a couple of snow flakes. I typed up the Ho Ho Ho and traced a snowflake image using the trace tool in silhouette studio.

I cut the vinyl, and laid the transfer tape over the ho ho ho, then lined up the snowflakes under there too, so that I could lay it all down at once.


UPDATE!
I didn't like how the snowflakes weren't very visible because of the white lights in the block, so I tried green lights in the block, still no good. I decided to change the snowflakes out for Christmas trees, added a bow to the top and it's much better now!

DIY Santa Ornament

I'm still a crafting machine over here with my silhouette cameo! We are attending a Christmas party where you are asked to bring an ornament for their tree, so instead of buying something typical from the store I scoured pinterest for something creative (but not too girly) that I could make using my silhouette cameo and the clear glass ornaments you can get at your craft store.

I found this cute Santa ornament but wasn't sure how long M&Ms can last (year after year?). Especially if you're like me and store your ornaments in your not-heat-controlled attic, that could get pretty messy. 

I decided to go with the shredded crinkle paper instead of M&Ms. 

I got glass ornaments, red shredded crinkle paper, green ribbon and used my silhouette cameo to cut black for the belt and gold for the buckle!

First, stuff as much red crinkle paper in to the ornament that you can fit. You will probably need to use a pen or something of the sort to shove the paper in the tiny opening at the top. Put the lid back on the ornament, you are done with that!

I cut the belt (a strip of black vinyl) and buckle (a "curved" square with another inside of it) with my silhouette cameo. I may add a green ribbon later, but figured it would blend in with the tree anyways! 

DIY Christmas Tree Sign

Like I said yesterday, I've been crafting up a storm with my silhouette cameo. I saw this pin and loved the black, white and glittery gold but am not really one to put up deer heads in my house, so I decided to take it in a different direction. 


I used a canvas panel, painters tape, black spray paint and glitter gold vinyl along with my silhouette cameo. 


Put the painters tape on the canvas in strips going all the way across (the parts that are white in this picture were covered in painters tape). 

Spray paint it lightly with black, making sure that it is all covered, but not too thick (it could bleed under the tape if you soak it with paint). Let the paint dry and peel up the tape, you will have a black and white striped canvas! 

Lastly, I designed the Christmas tree in my silhouette studio, cut it and used transfer tape to place it on the dry canvas. 

DIY Christmas Platter

I've been spending a lot of time with my silhouette cameo lately. I love that thing. pinterest + silhouette machine + holidays = 1 busy girl. 

The first craft I tackled was a Christmas platter that I found here. It really is pretty easy, if you have a silhouette machine (or one similar). You could of course make this for any time of year and use different colors of vinyl. 


You Need: 
A plain tray/platter
Green vinyl
Red vinyl

Measure the inside of the platter. The only one I could find (that didn't cost a ton) had the extra ring around the outer edge so I had to make sure to get all of the vinyl in the middle. 

Type the last name (or name you want to put on the platter) on the silhouette studio (my font for this was Andulus). Then in another font (I used Boys R Gross) type merry christmas.You can drag it over the first word to be sure how they line up/size correctly. Then of course cut and paste it in to a different file, so that you can print on two different colors. 

Print the background name in one color, and then using transfer paper center it in your tray. Then using transfer paper again, transfer the "merry christmas" that is printed in the 2nd color. 

And voila! 

House Work/Upgrades

It all started with a rotten window. Our bedroom window was rotten and a corner piece of wood on the house was too, so that got us going about doing some house updates this summer. 

After a variety of estimates from contractors we finally decided to have some of our siding replaced.... and many other things!

We had gutters added (we only had 2 tiny strips of gutters when we bought the house!?)

We (really Trey and my dad) redid our screened in porch after adding the doggie door.
They had to take down all of the trim work outside, replace the screen, repaint the trim and replace some wood. So nice once it was complete!


My parents and I bought a carpet cleaner and we used it to clean our living room rug, it looks so fresh and clean now :)

I powerwashed half the fence.... oops still need to finish that... next summer? ;)


Don't forget about our laundry room makeover!

Oh and the best of all... we got new windows! The kind that pull in to clean, come with screens that aren't busted and are energy efficient. Yay and it was just in time to enjoy our new windows and screened porch just in time for fall!
 The rotten window. Apparently since we didn't have gutters water was bouncing up off the porch roof back to this window and it rotted!

Installing new windows!


Disney Trip Part 2

Read the first part here. 


 Monday morning bright and early 
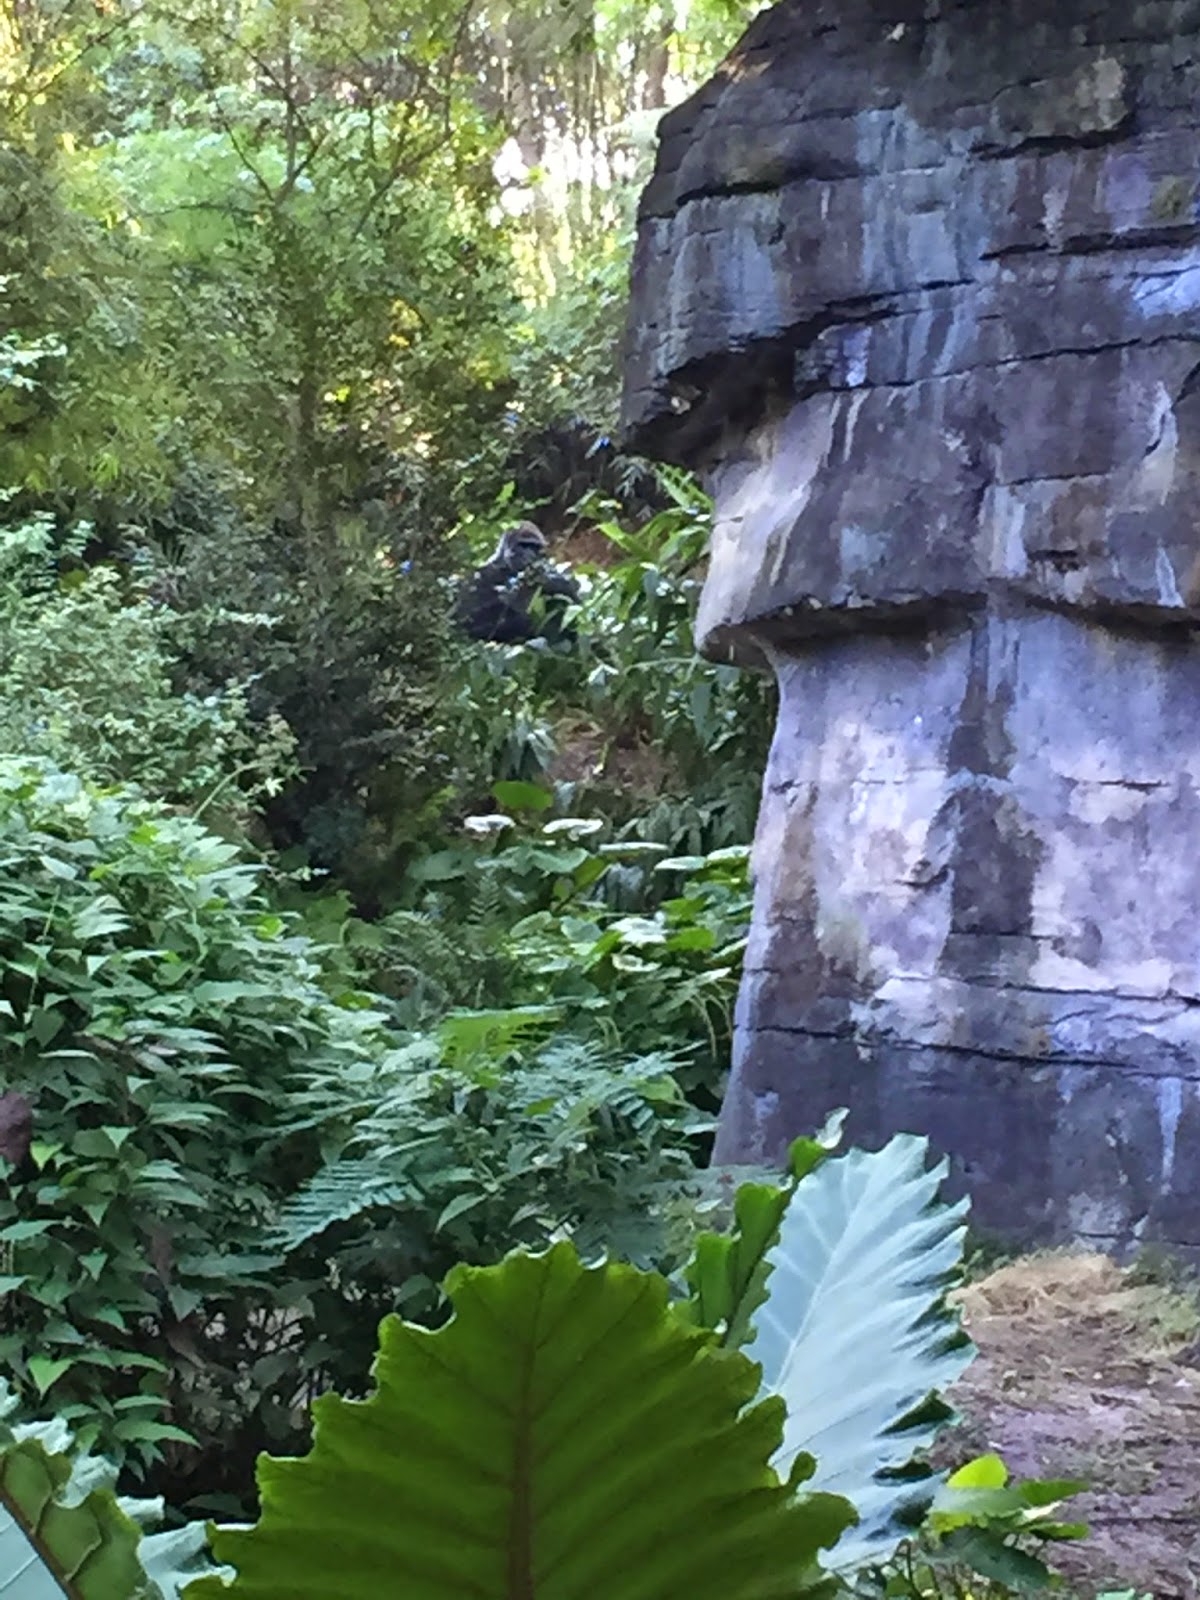
we went in to Animal Kingdom and hopped on the safari. Then we went to the Lion King show, I had never seen it before, but it was pretty awesome. 


Lion King Show:


These guys were my favorite


We took the boat over to Magic Kingdom to have lunch at the new Be Our Guest restaurant in Belle's castle in Fantasyland. During the day it is a quick service restaurant, so you order your food on a touch screen then have a seat and they bring it out to you. 


So ornate! 


My carved turkey sandwich (above) and 
the cart (below) that they bring your food out on


We rode some of our favorites in Magic Kingdom, did some shopping, got ice cream and enjoyed the day. We got to ride the new Mine Train ride and really enjoyed it. 
The people mover... one of my faves!


Parade time!


Enchanted Tiki Room

Mine Train!

Little Mermaid Ride


We watched the Electric Light Parade (one of my faves) and then headed out. We thought it would be fun to go watch the fireworks from the balcony at the Contemporary but something messed up and the didn't have the music to go along with them, so that was a big disappointment. 


Found the brick!

Contemporary at night

Quite a day! 25k steps

Tuesday was our last day in Disney. We went to Epcot in the morning. It was way better than doing Epcot on the weekend with the huge food and wine festival crowds! We actually go to get foods from the different booths (on the weekend there were insanely long lines that we didn't want to wait through). 


Our Test Track car
We also did the Behind the Seeds tour in the land. It was really cool to learn about their hydroponics and other cool things that they do there. Trey is really in to the hydroponics and wants to start a hydroponic grow tank at our house.


It was a super fun vacation but it is always nice to get back home to these sweet faces